
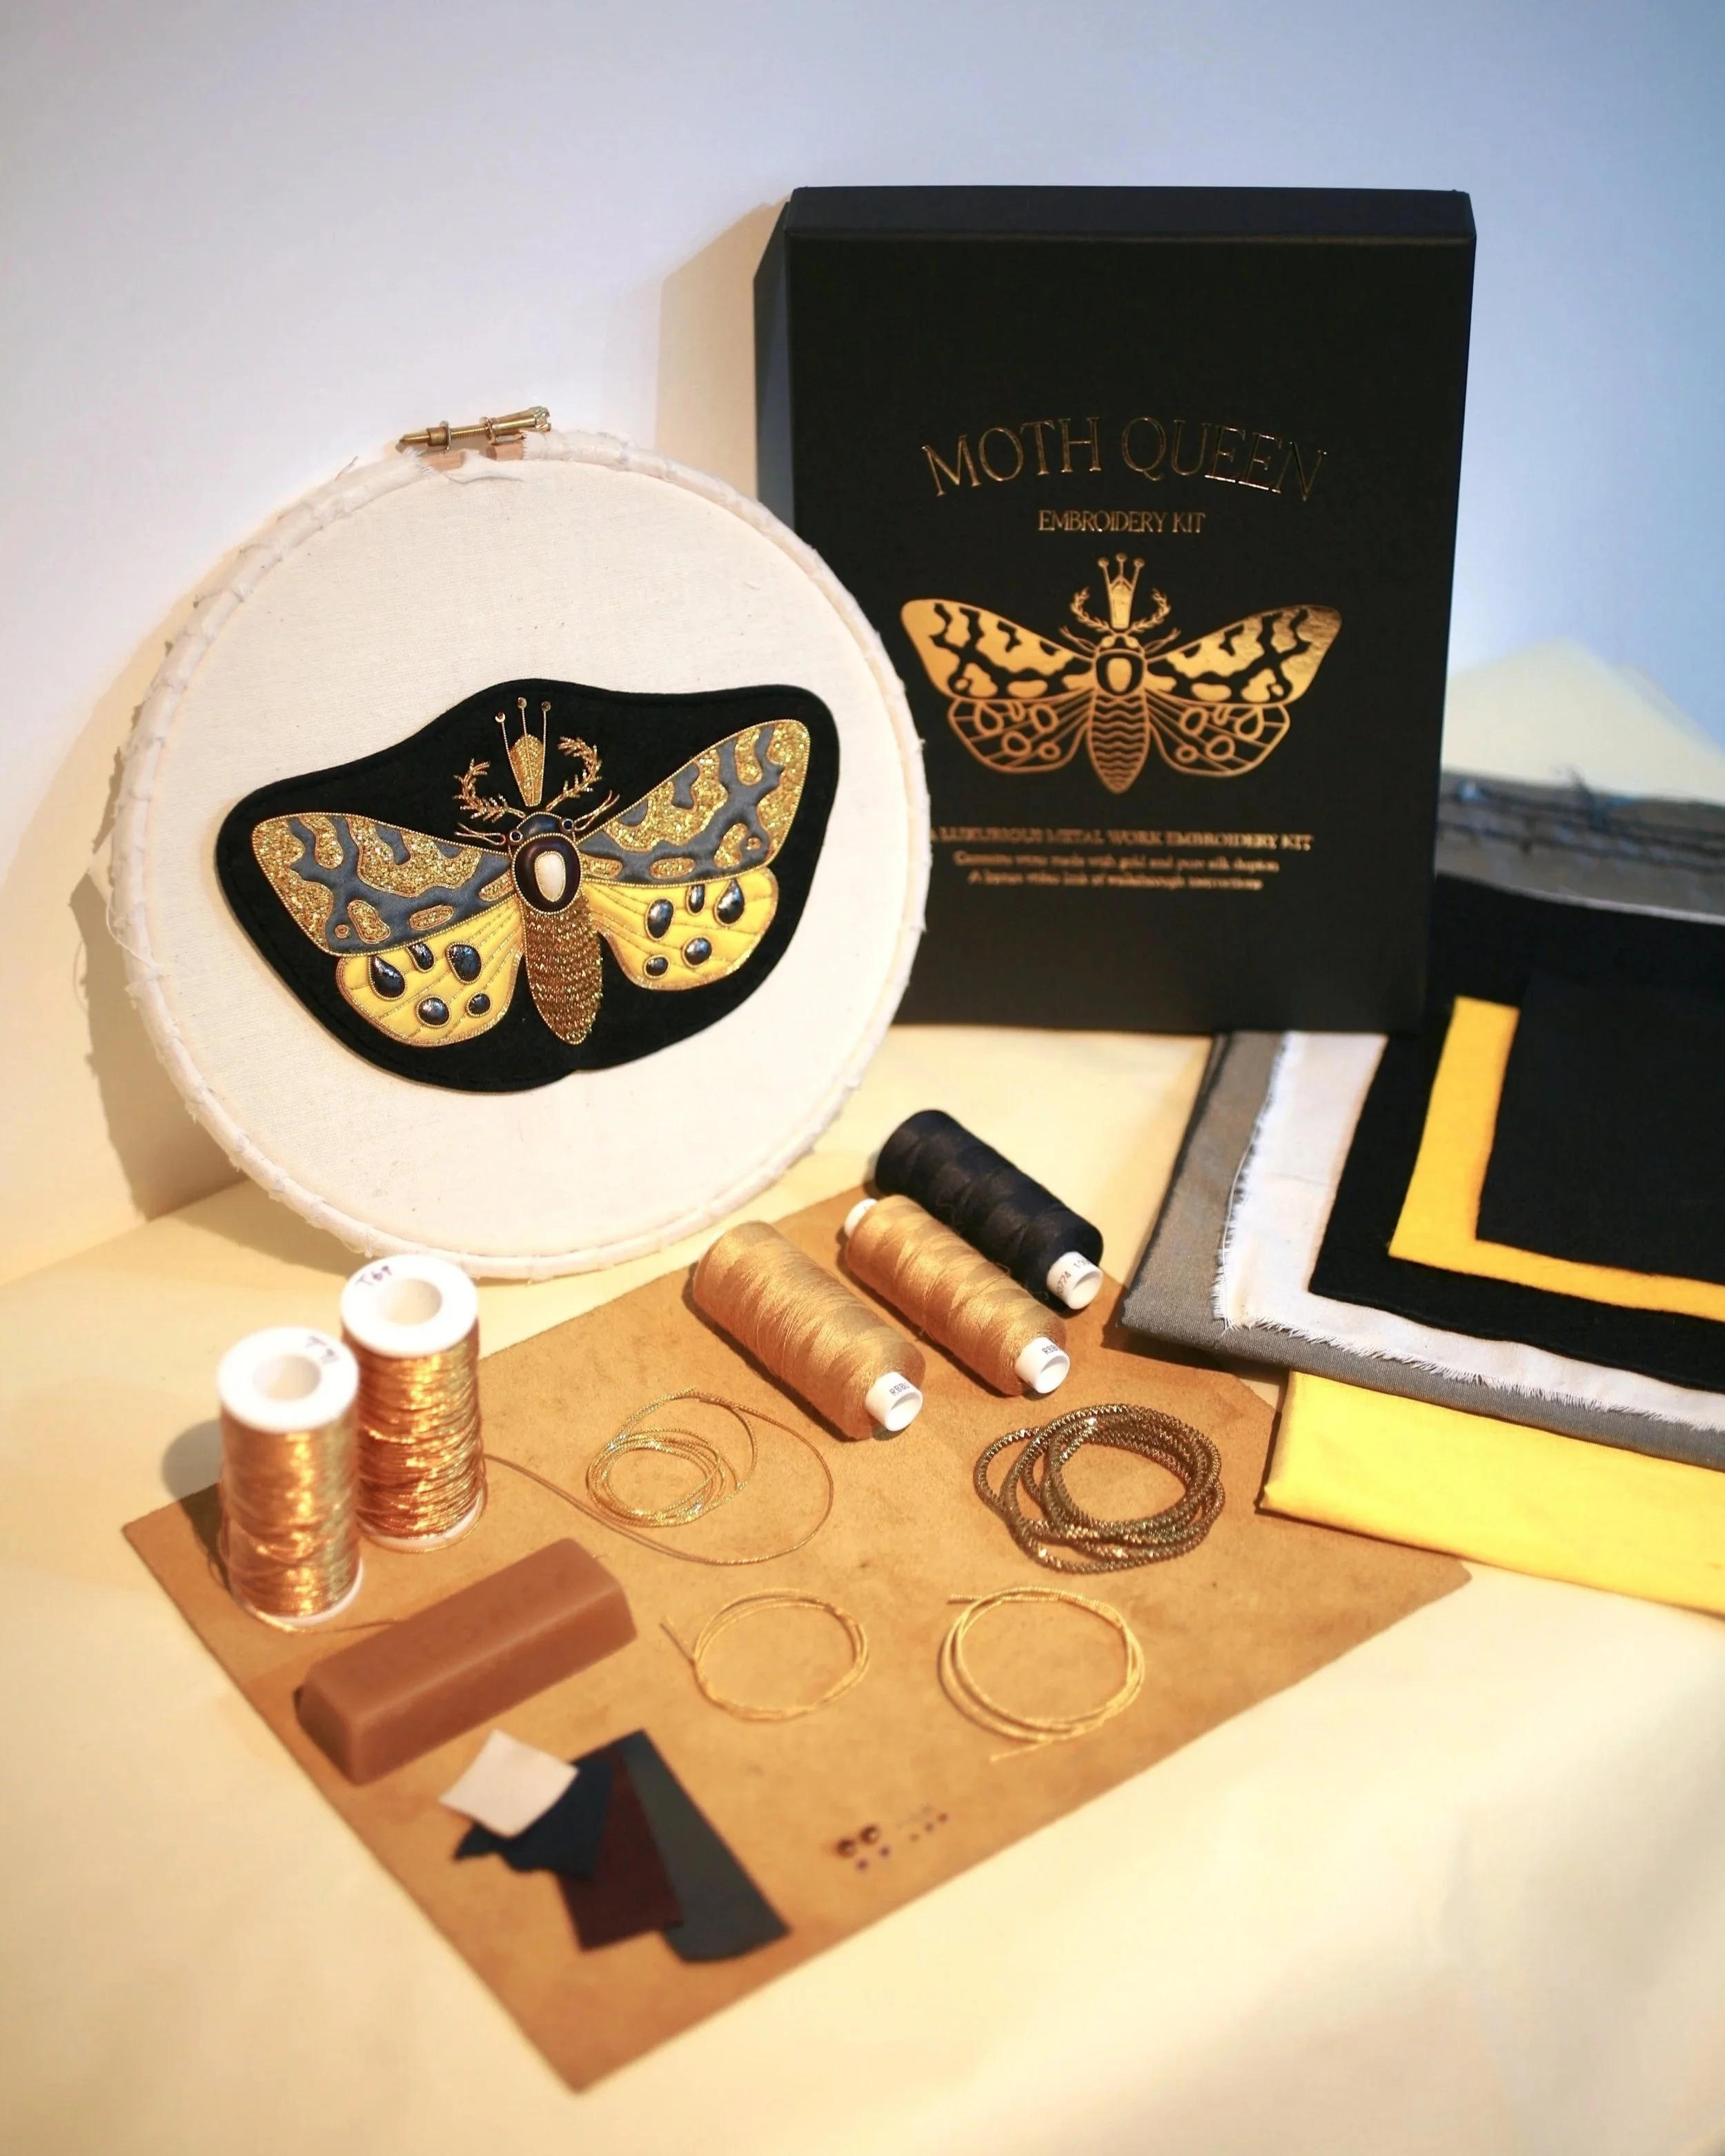
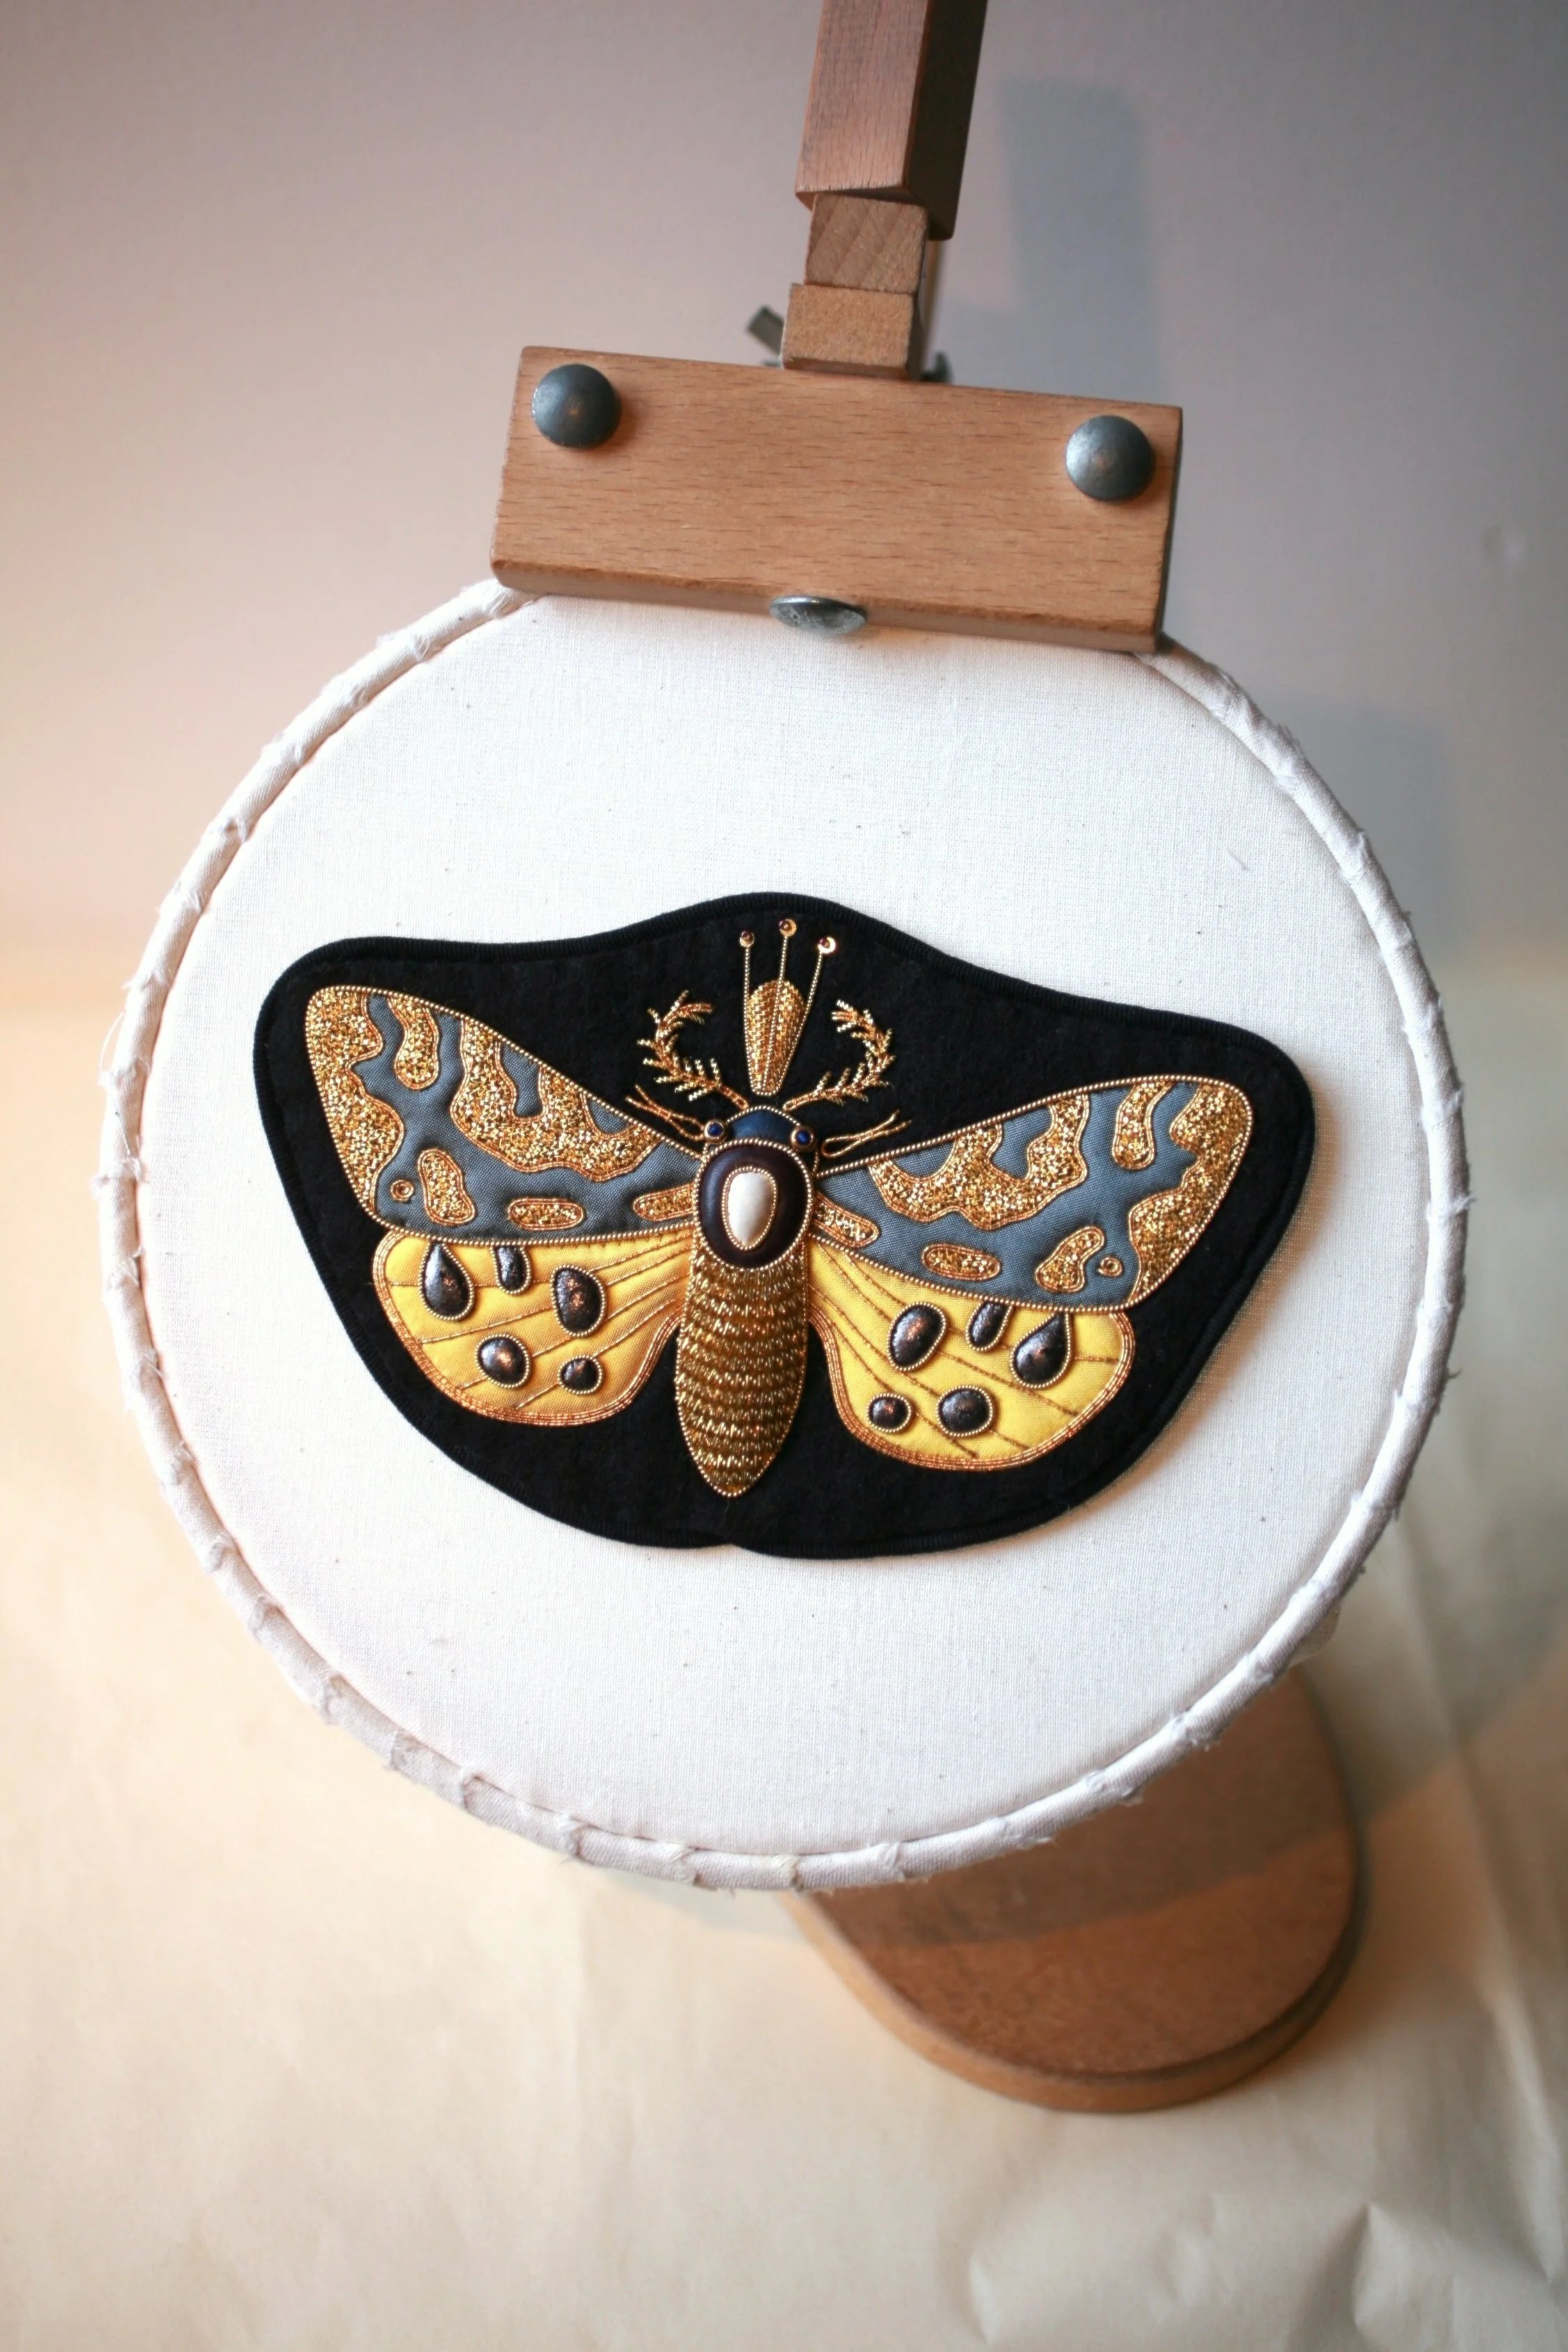
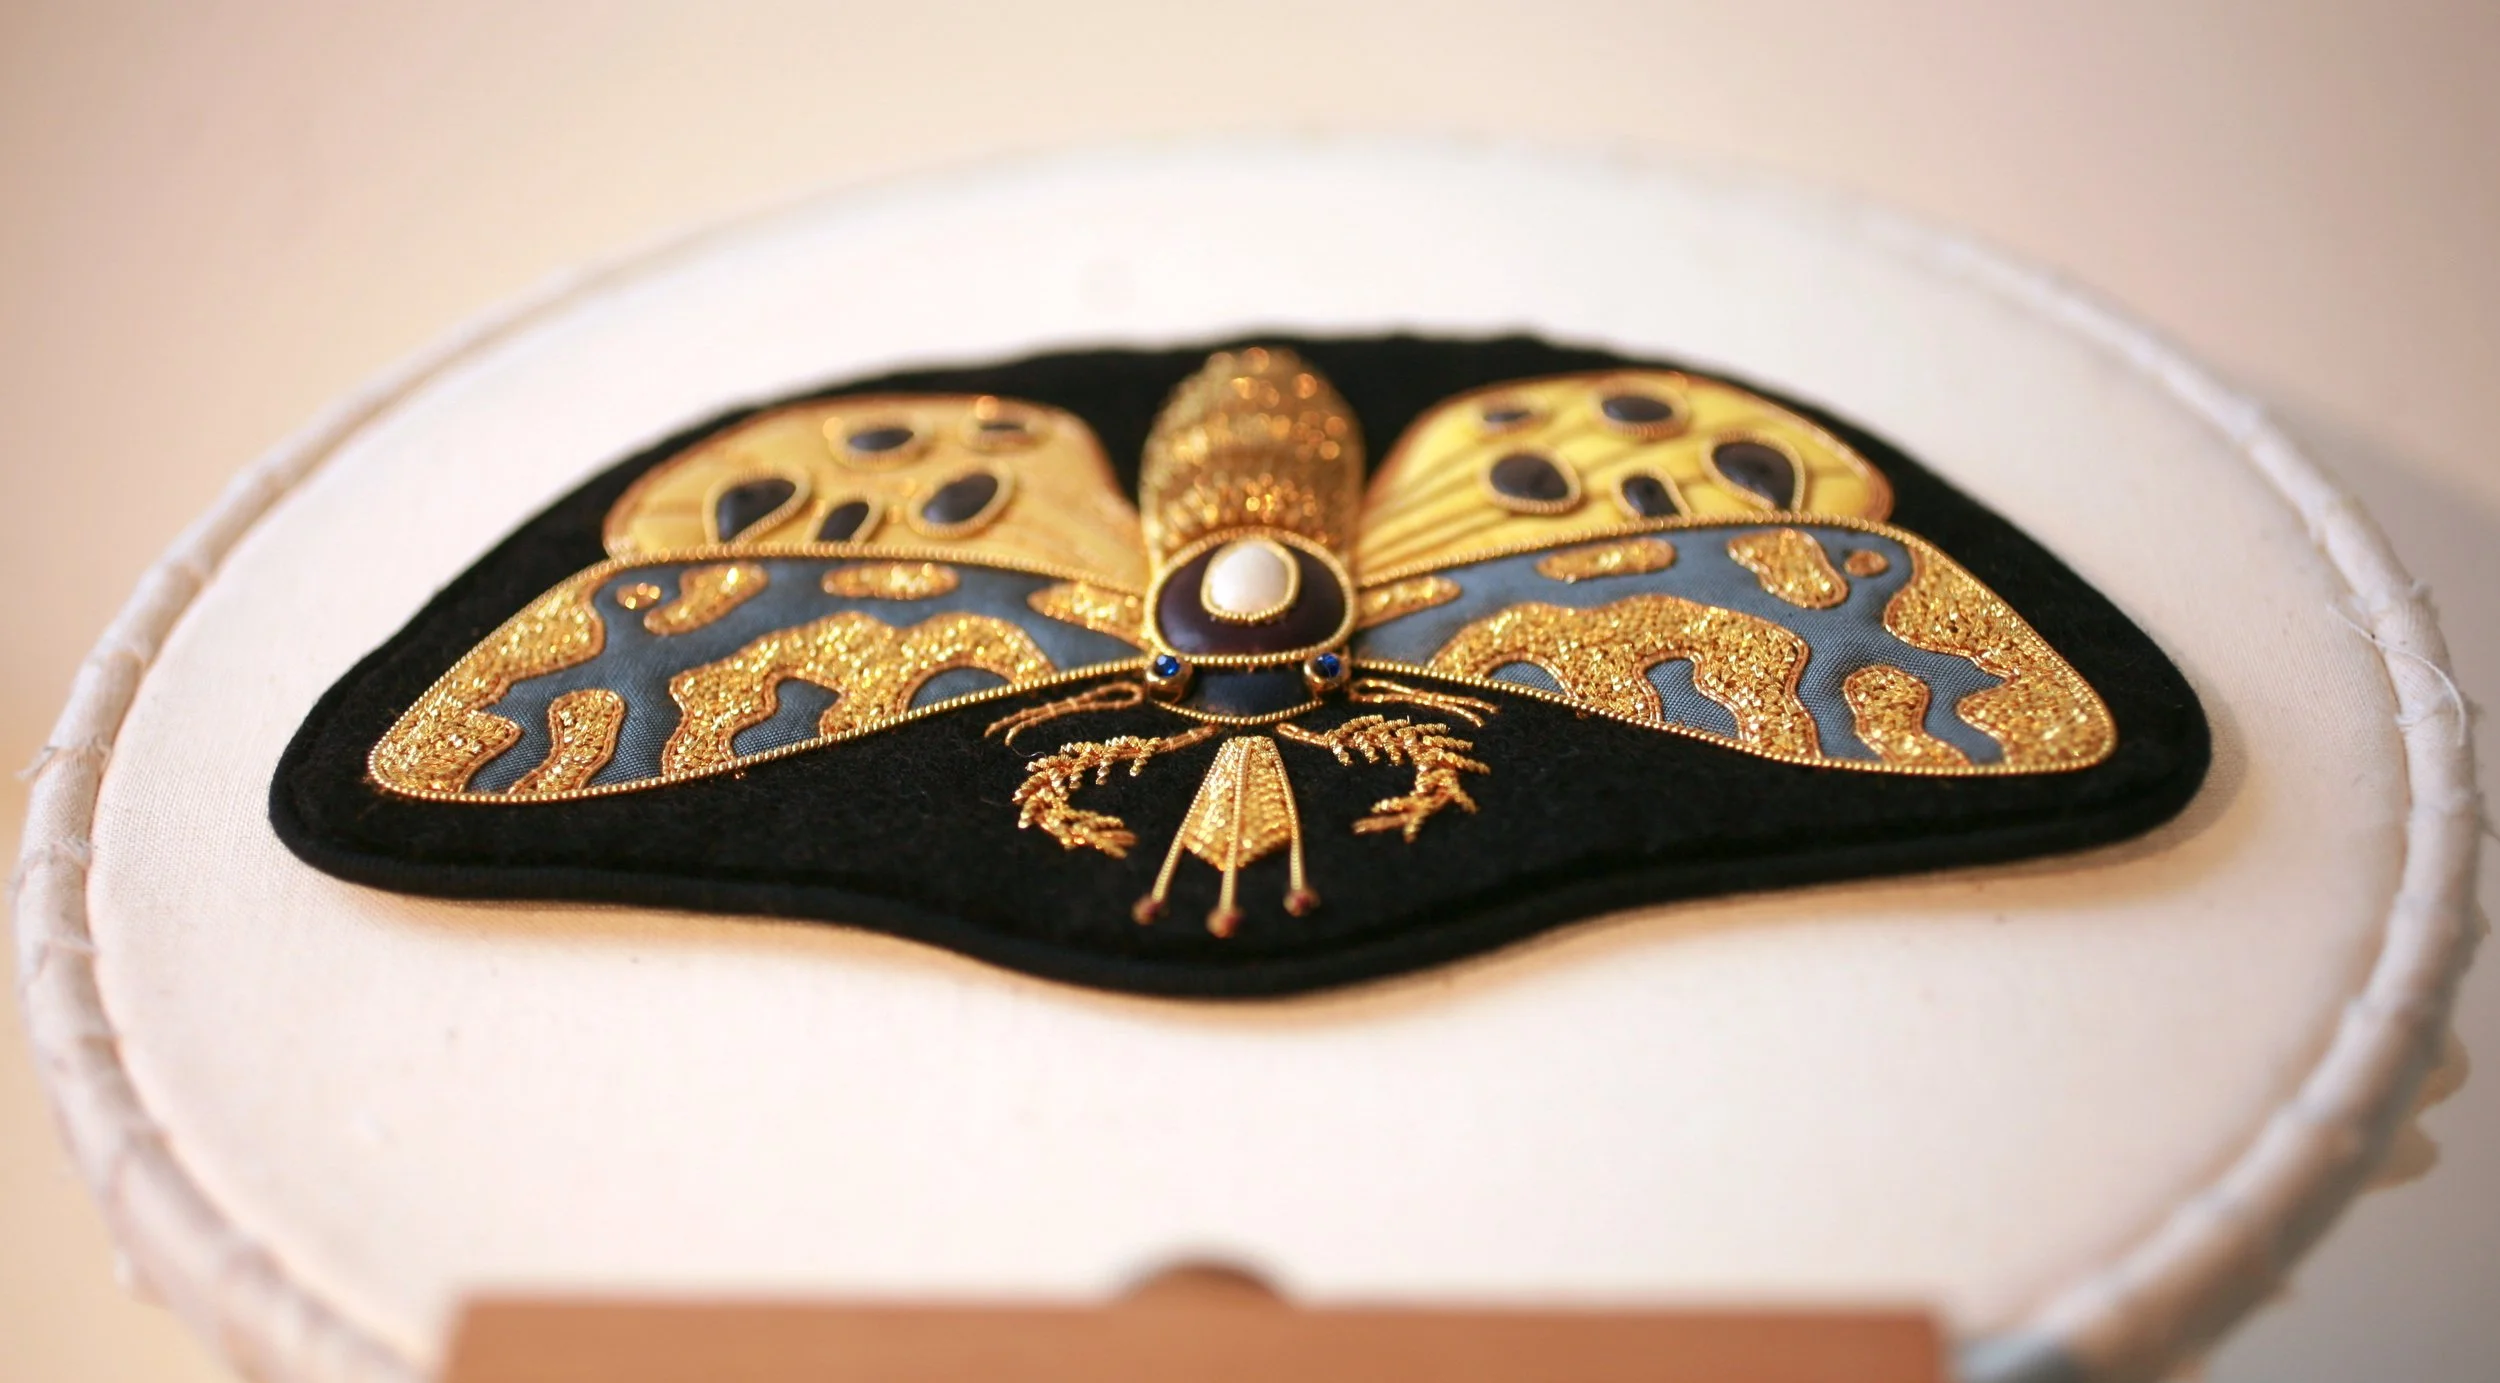
The kit comes in a foil box, containing all the materials you will need to make and finish the moth queen as photographed. Inside is a printed instruction booklet with details for a bonus video link of the making process. This kit is a long project but not overly complicated. Suitable for a patient beginner.
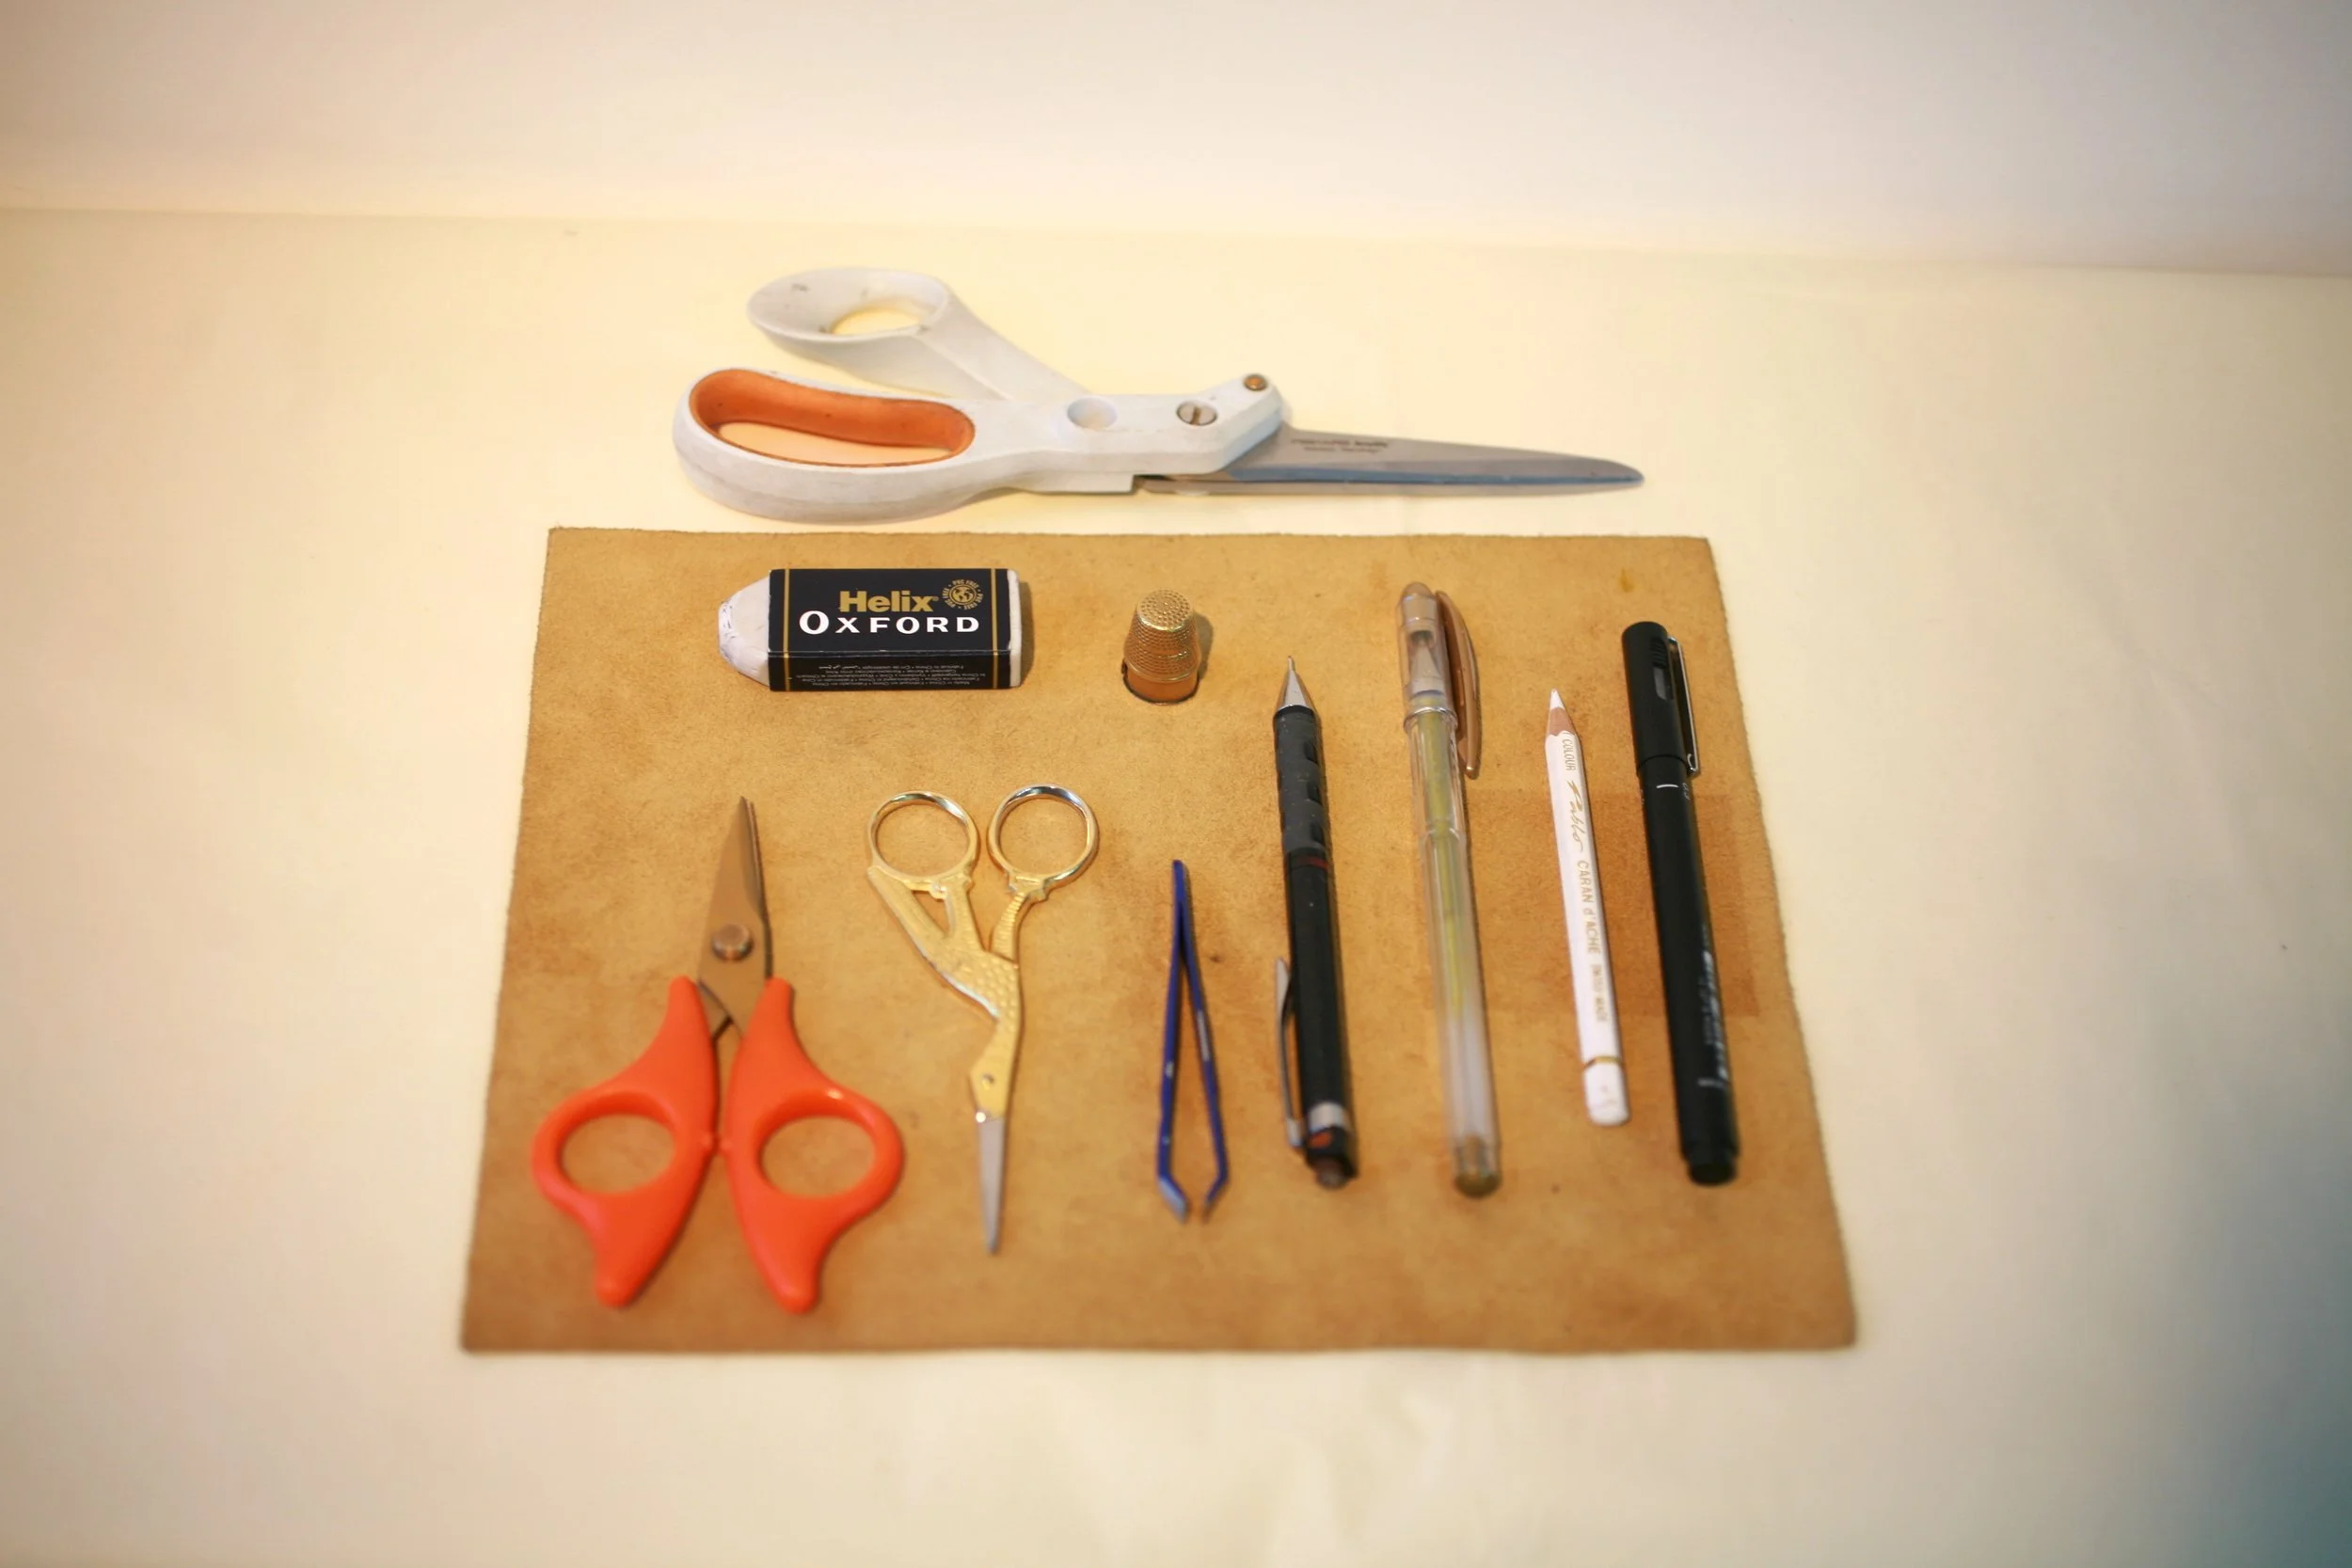
The box does not contain any large tools or equipment. You will need to aquire this simple list below before starting.
1. A 9inch hoop. If you have an 8” already it will just fit the felt with the corners slightly over. My hoop in the photo is wrapped in strips of calico to help grip fabrics. There are tutorials on you tube on how to do this.
2. The hoop stand. You will need both hands for sewing. There are a few types available other than mine. I recommend spending a little more than the cheapest, look for a sturdy attachment clip. If in doubt get one that looks like mine.
3. Mechanical pencil. For drawing precise lines. Even pound shop variety will do.
4. Gold gel pen.
5. White pencil crayon.
6. Black ink fine liner, for dotting on felt.
7. Small embroidery scissors. It’s important these are sharp. You’ll need these a lot.
8. Small scissors for cutting the wires. I use a little old pair of quilting scissors for this. Be aware the wires will blunt any scissors. I double their use and cut the tracing paper with them too, as they are good for small shapes.
9. Fabric scissors, You only need these to make the final cut around the patch with these. Don’t invest in anything fancy you wont use.
10. Goldwork board. This is a velvet board for cutting wires. I just use the reverse of a piece of leather. You could also use a small tray.
11. Tweezers, there are a range of goldwork tweezers available, feel free to get some but my favourite, are the ones from my bathroom cabinet. They have a flat blades and are slightly sharp. I find they are more precise but they can scratch wires if you over handle them.
12. Mellor. Optional laying tool. You can use the glass head pin in your needle pack if you don't buy this.
13. A thimble to fit your middle finger.
The kit comes in a foil box, containing all the materials you will need to make and finish the moth queen as photographed. Inside is a printed instruction booklet with details for a bonus video link of the making process. This kit is a long project but not overly complicated. Suitable for a patient beginner.
The box does not contain any large tools or equipment. You will need to aquire this simple list below before starting.
1. A 9inch hoop. If you have an 8” already it will just fit the felt with the corners slightly over. My hoop in the photo is wrapped in strips of calico to help grip fabrics. There are tutorials on you tube on how to do this.
2. The hoop stand. You will need both hands for sewing. There are a few types available other than mine. I recommend spending a little more than the cheapest, look for a sturdy attachment clip. If in doubt get one that looks like mine.
3. Mechanical pencil. For drawing precise lines. Even pound shop variety will do.
4. Gold gel pen.
5. White pencil crayon.
6. Black ink fine liner, for dotting on felt.
7. Small embroidery scissors. It’s important these are sharp. You’ll need these a lot.
8. Small scissors for cutting the wires. I use a little old pair of quilting scissors for this. Be aware the wires will blunt any scissors. I double their use and cut the tracing paper with them too, as they are good for small shapes.
9. Fabric scissors, You only need these to make the final cut around the patch with these. Don’t invest in anything fancy you wont use.
10. Goldwork board. This is a velvet board for cutting wires. I just use the reverse of a piece of leather. You could also use a small tray.
11. Tweezers, there are a range of goldwork tweezers available, feel free to get some but my favourite, are the ones from my bathroom cabinet. They have a flat blades and are slightly sharp. I find they are more precise but they can scratch wires if you over handle them.
12. Mellor. Optional laying tool. You can use the glass head pin in your needle pack if you don't buy this.
13. A thimble to fit your middle finger.